
Adding VitalWall Cart Tracking to Your E-commerce Store
Track Cart Activity in Real-Time
Want to see what products your customers are interested in right now? VitalWall makes it easy to add real-time cart tracking to your e-commerce store. Each time a customer adds an item to their cart, you'll see it instantly in your dashboard.
This simple integration helps you:
- See which products are trending right now
- Track customer interest throughout the day
- Identify popular products in real-time
- Make data-driven inventory decisions
See It In Action
This demo showcases the complete VitalWall ecommerce integration experience. The left side shows the customer's mobile shopping experience, while the right side displays your real-time dashboard. Try adding products to the cart and watch them appear instantly on your wall!
Setting Up Your Own Wall
The implementation involves two parts:
- Setting up your wall on VitalWall.com
- Adding tracking code to your website
Part 1: Setup on VitalWall.com
First, let's create and configure your wall in the VitalWall dashboard:
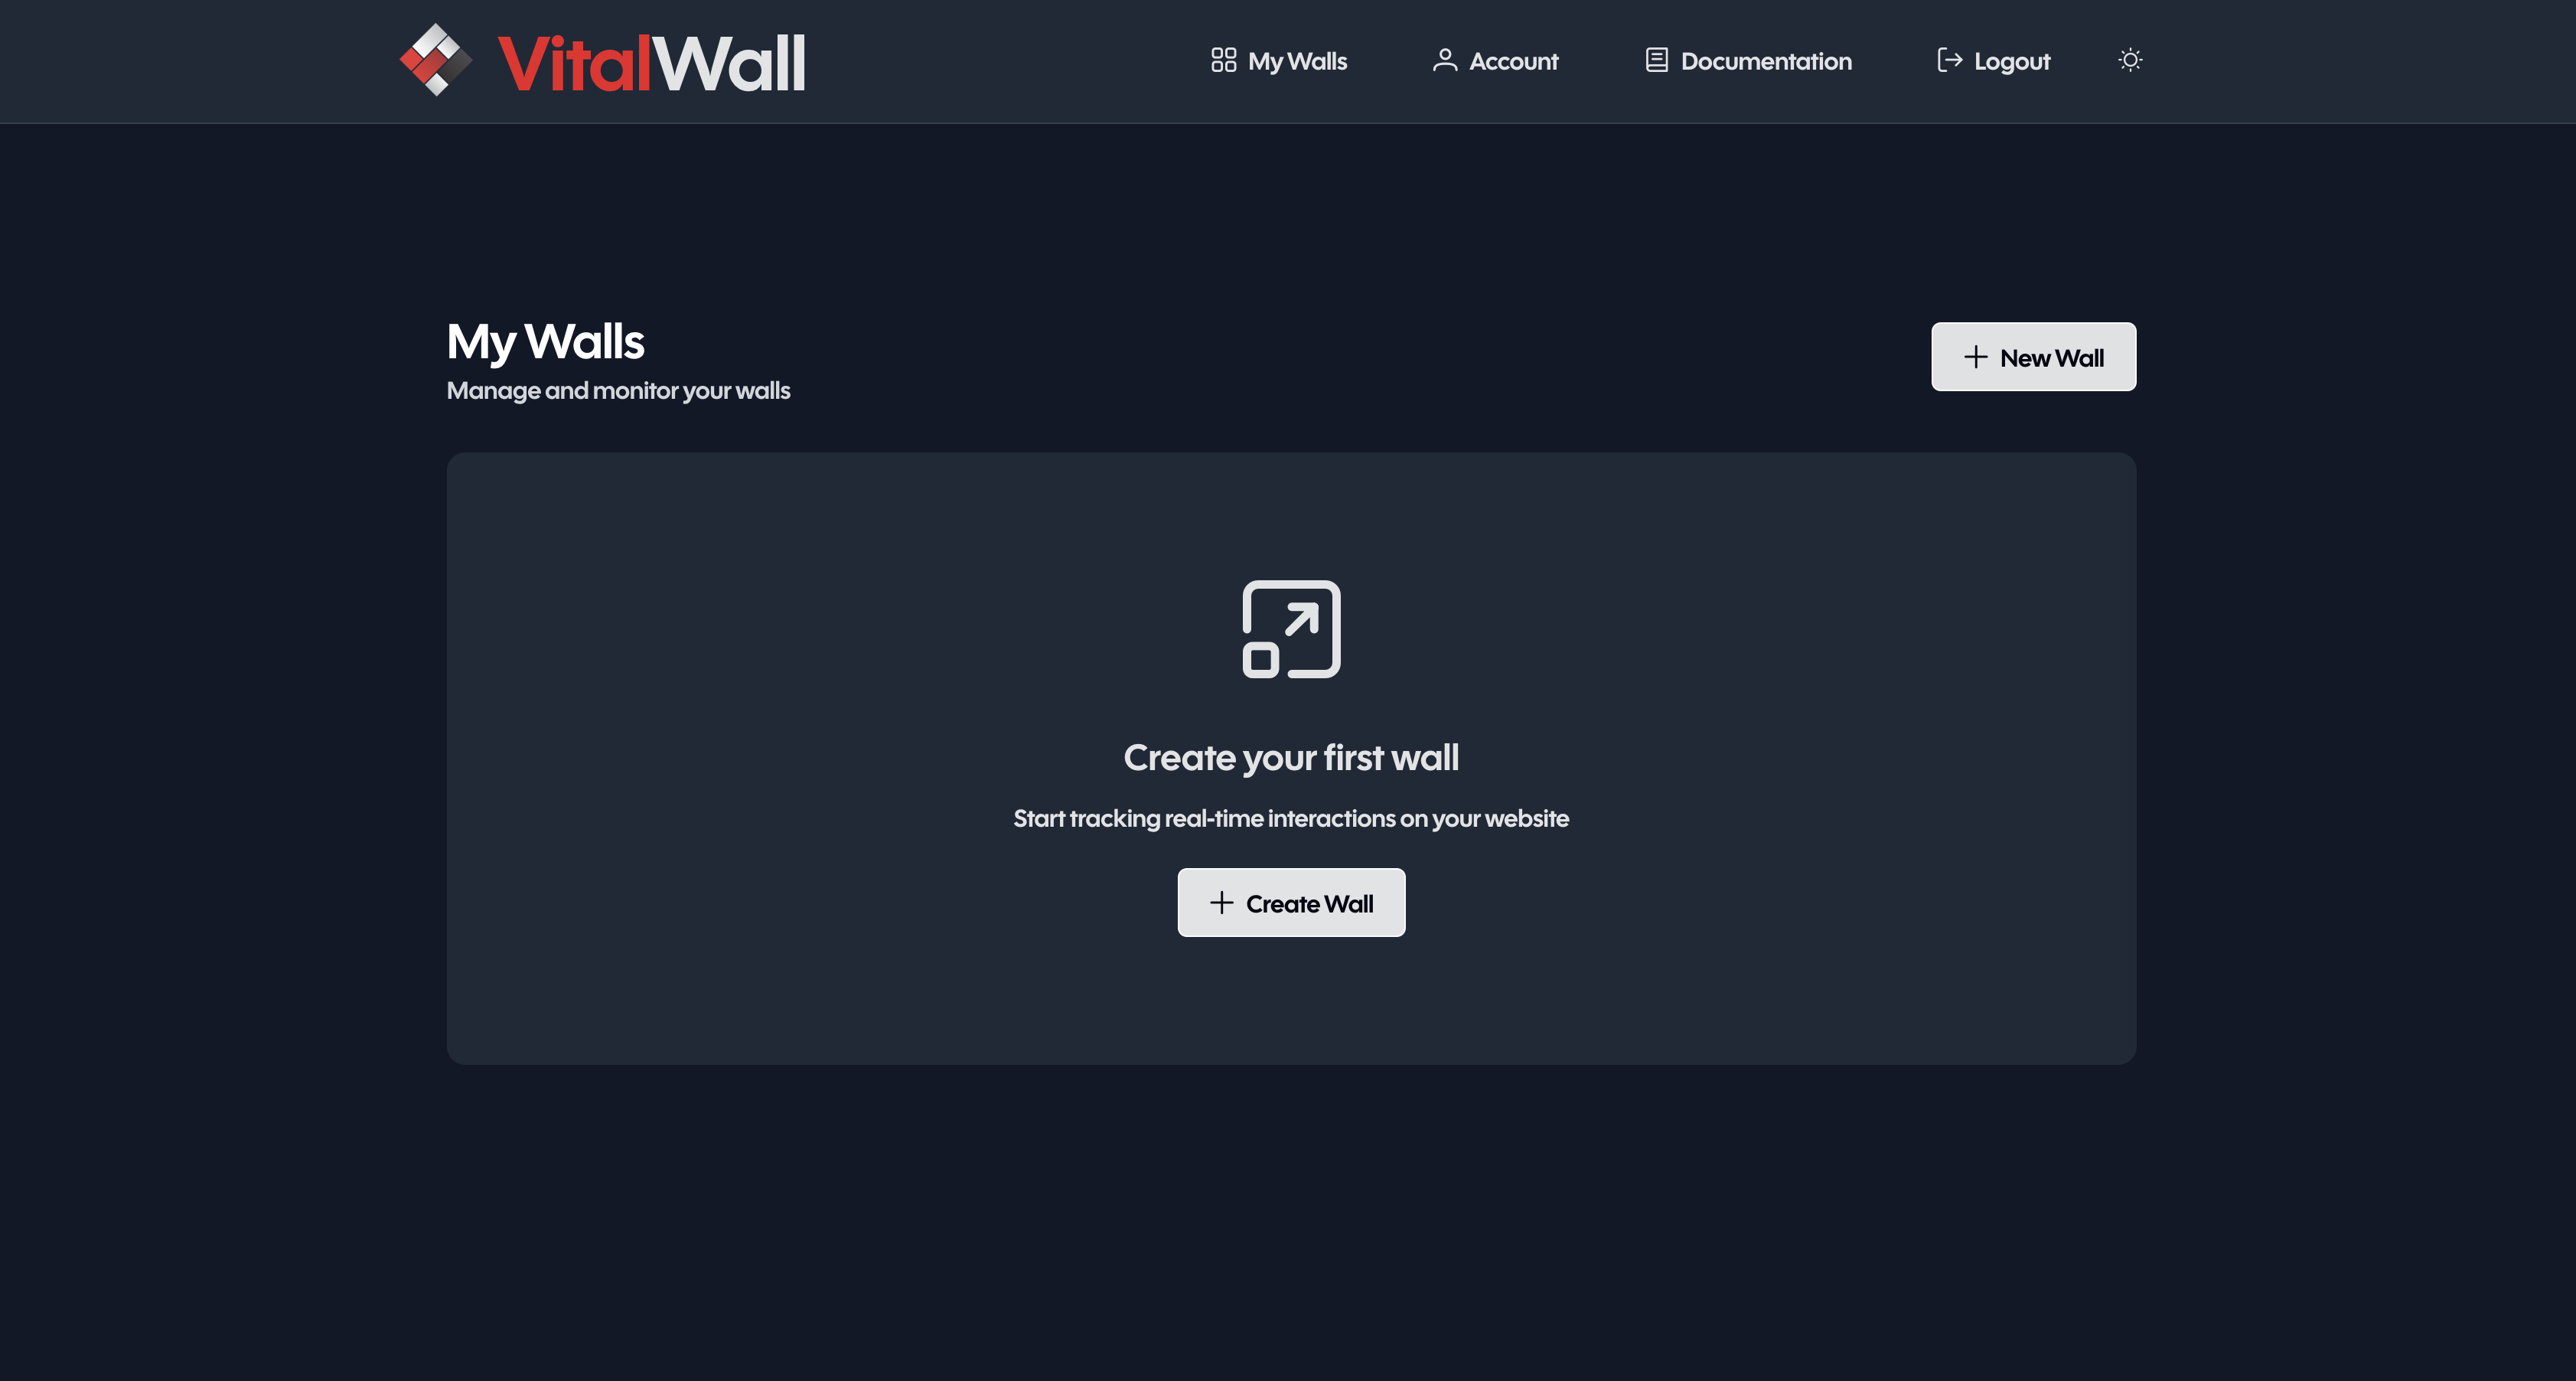
- Log in to VitalWall.com
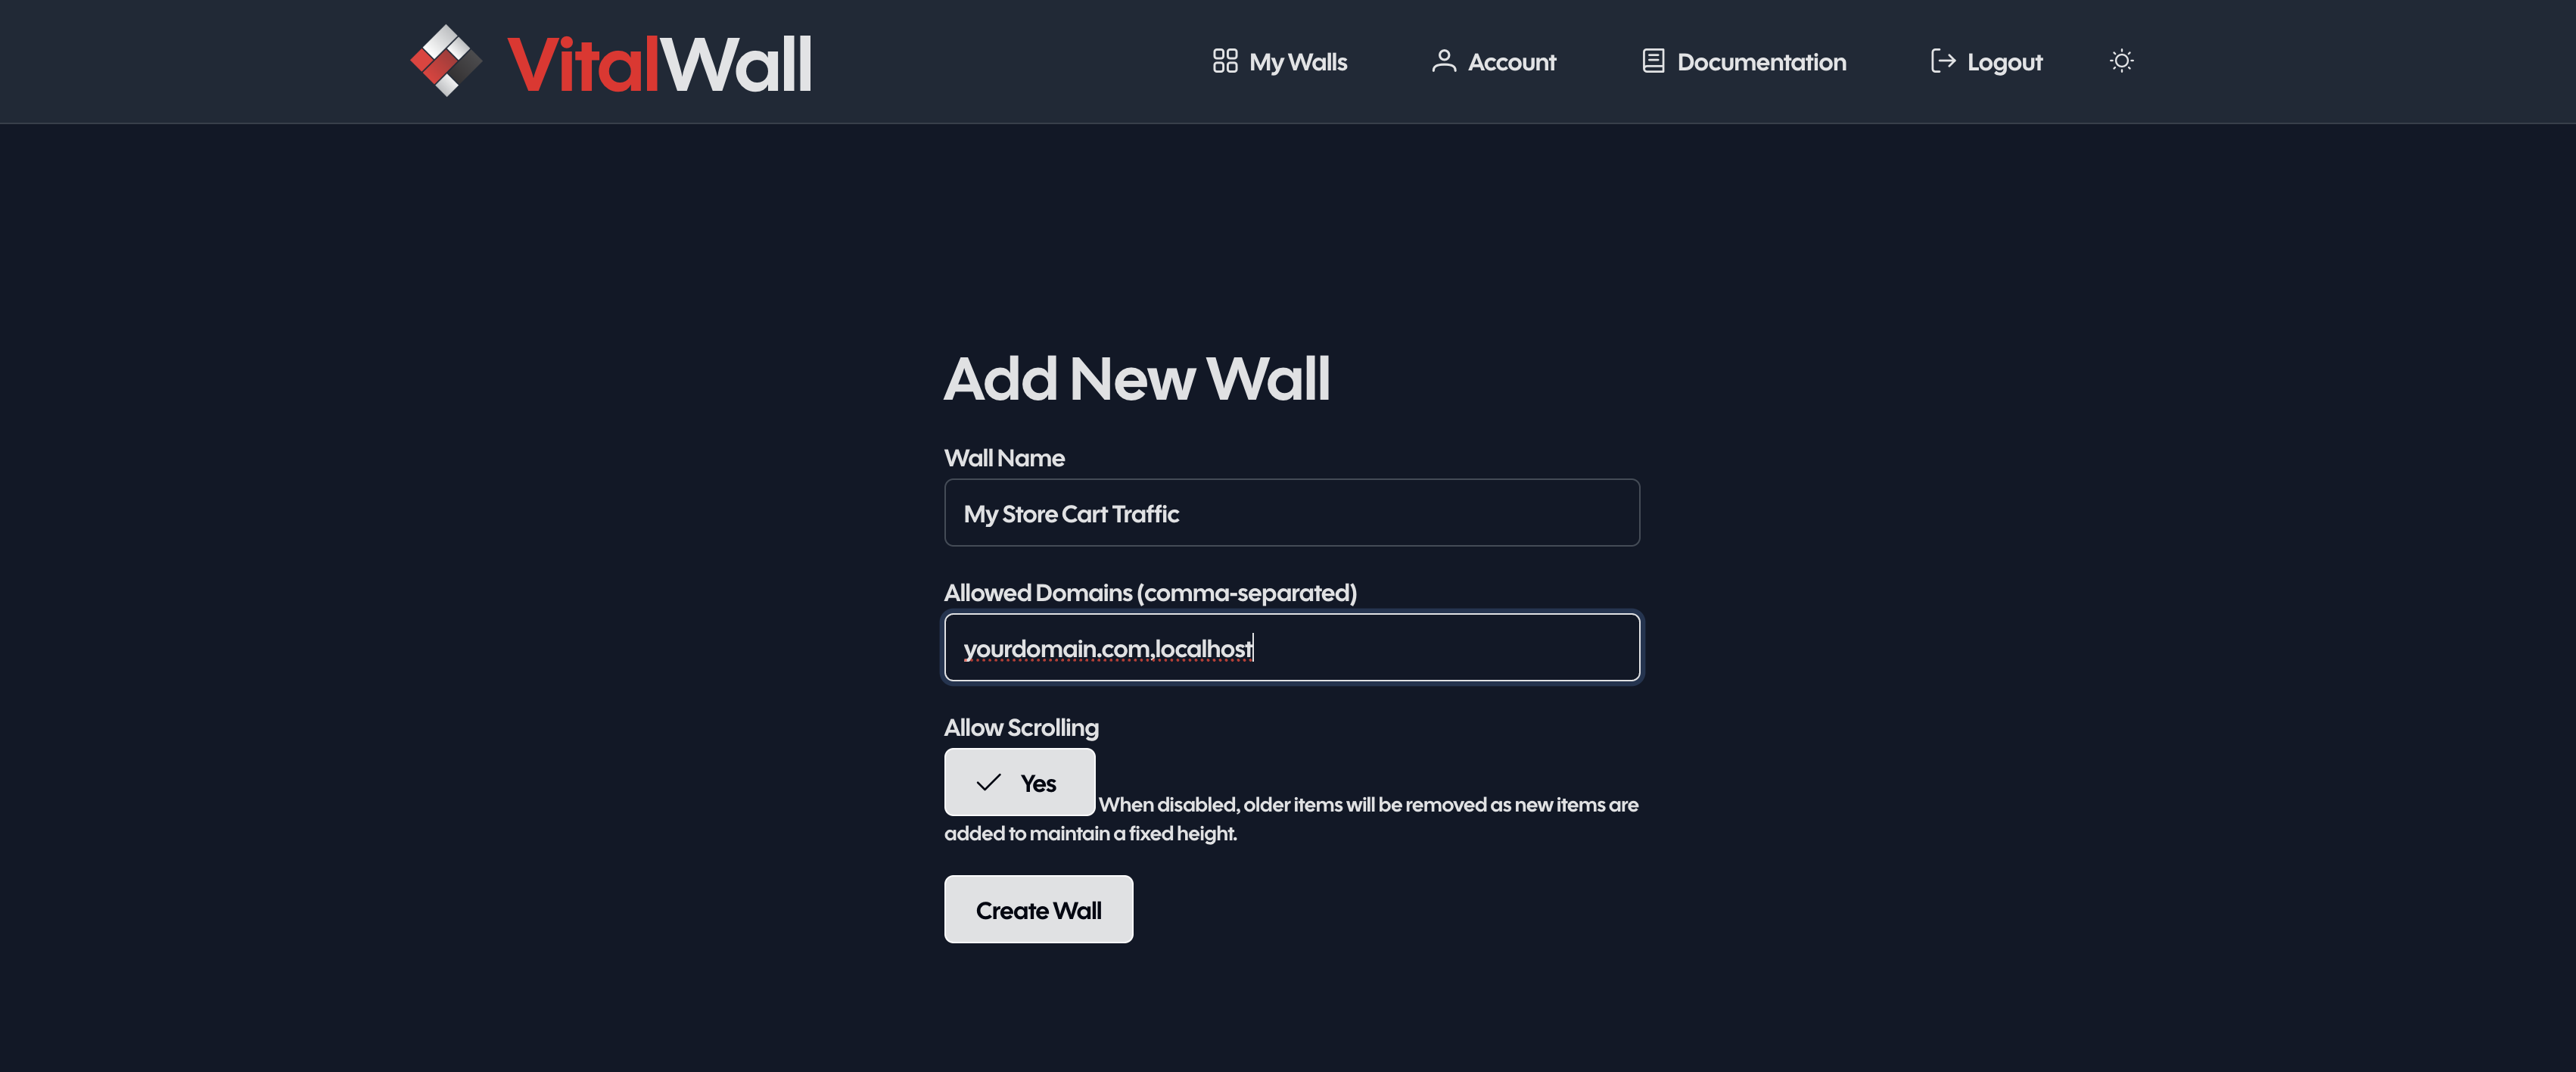
- Click "New Wall"
- Name it (e.g., "My Store Cart Traffic")
- Add your domain(s) to allowed domains (include localhost if you are testing locally)
- Save your wall
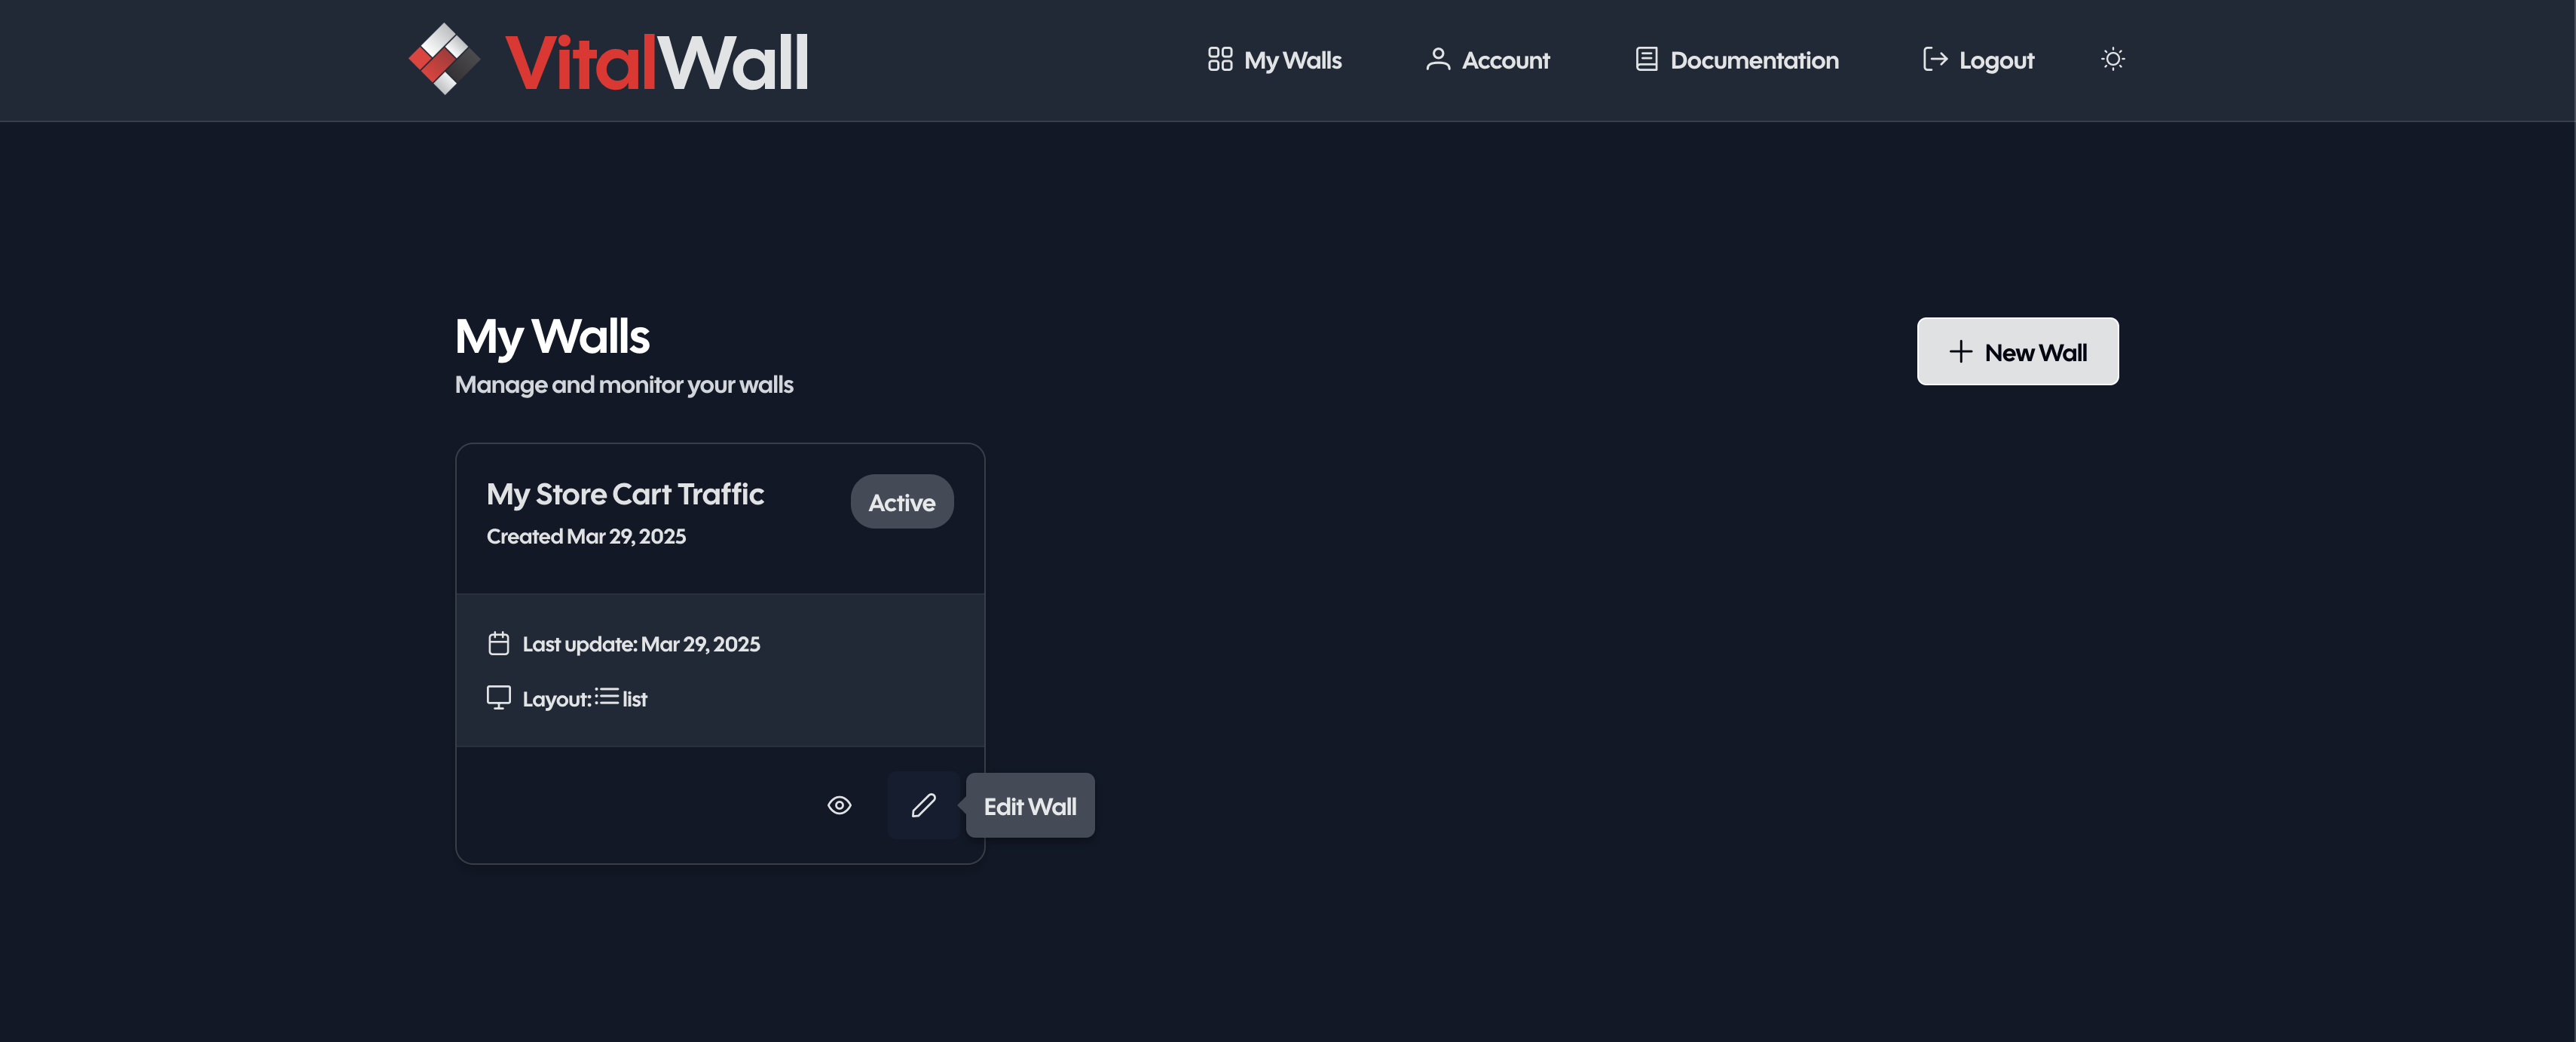
You'll see your new wall in the dashboard:
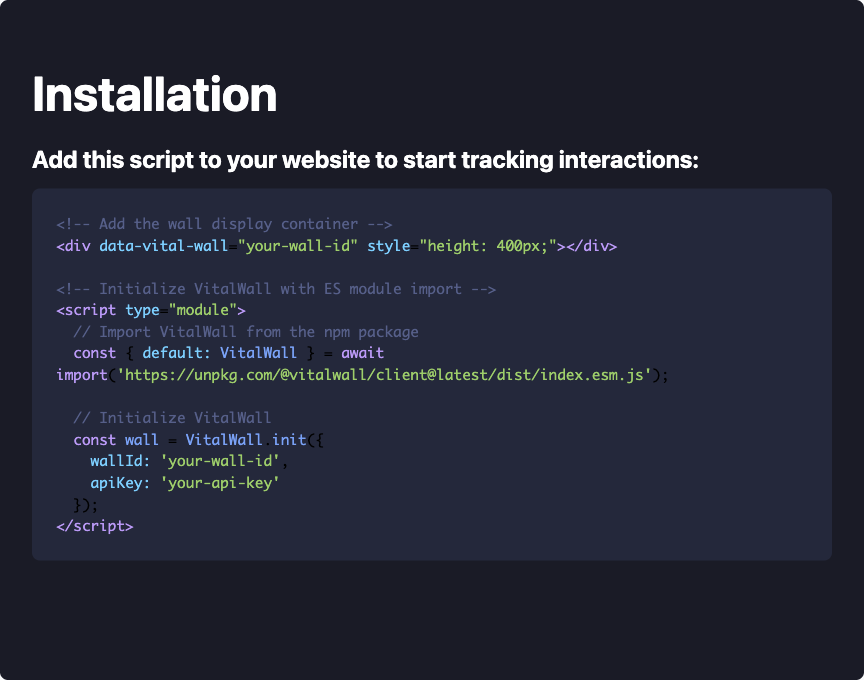
Make sure to note your API key and settings:
Part 2: Implementation on Your Website
Now that your wall is set up on VitalWall.com, let's add the tracking code to your website. You'll need to:
- Add the VitalWall script
- Configure tracking on your product pages
- Test the implementation
1. Add the VitalWall Script
Add this code to your website, just before the closing </body> tag:
<script type="module">
  // Import VitalWall from the npm package
  const { default: VitalWall } = await import('https://unpkg.com/@vitalwall/client@latest/dist/index.esm.js');

  // Initialize VitalWall
  VitalWall.init({
    wallId: 'your-wall-id',    // Use the wall ID from your wall settings
    apiKey: 'your-api-key',    // Use the API key from your wall settings
    debug: false               // Set to true while testing
  });
</script>
2. Add Tracking to Your Products
For each product on your site, add these attributes to your "Add to Cart" button:
<!-- Add these attributes to your Add to Cart button -->
<button class="add-to-cart-btn" data-vital-item="add-to-cart" data-vital-html="true" data-vital-send-content="product-123">Add to Cart</button>

<!-- Add this hidden div with your product details -->
<div id="product-123" style="display: none;">
  <div class="wall-card">
    <img src="/product-image.jpg" alt="Product Name" />
    <div class="details">
      <div class="name">Product Name</div>
      <div class="price">$99.99</div>
    </div>
  </div>
</div>
3. Test Your Implementation
Once both parts are complete, follow these steps to verify everything is working:
View your wall:
- Go to VitalWall.com
- Click on your wall in the dashboard
- You should see an empty wall ready to display activity
Test the tracking:
- Open your website in a new tab
- Add a few items to your cart
- Watch them appear in real-time on your wall
Enable debug mode (optional):
- If you need to troubleshoot, update your initialization code:
// Import VitalWall from the npm package
const { default: VitalWall } = await import('https://unpkg.com/@vitalwall/client@latest/dist/index.esm.js');

VitalWall.init({
  wallId: 'your-wall-id',
  apiKey: 'your-api-key',
  debug: true // Enable debug mode
});
- Open your browser's console (F12 or Cmd+Option+I)
- You'll see these messages when tracking events:
// Initialization messages
[VitalWall] VitalWall initialized with domain: your-domain.com
[VitalWall] Initializing tokens with domain: your-domain.com
[VitalWall] Token initialization successful: {
  accessToken: "eyJhbGciOiJIUzI1...",
  tokenExpiry: "2024-03-16T12:00:00.000Z"
}

// When adding items to cart
[VitalWall] Tracking event: add-to-cart
[VitalWall] Content sent successfully
[VitalWall] Received wall data: {
  items: [...],
  config: {...}
}

// If there are any errors
[VitalWall] Error: Invalid API key
[VitalWall] Error: Domain not allowed
These logs will help you verify that:
- The client is properly initialized
- Your API key is valid
- Your domain is allowed
- Events are being tracked
- Content is being sent successfully
Need help? Check our documentation or contact support.
Styling Your Wall
You can customize how your wall items look using CSS. Here's the CSS we use in our demo store to create modern, clean product cards:
.wall-item {
  background: white;
  border-radius: 12px;
  padding: 16px;
  margin: 12px;
  display: flex;
  align-items: center;
  box-shadow: 0 2px 8px rgba(0, 0, 0, 0.05);
}

.wall-item img {
  width: 80px;
  height: 80px;
  object-fit: cover;
  border-radius: 8px;
}

.wall-item .details {
  flex: 1;
  min-width: 0;
  display: flex;
  flex-direction: column;
  gap: 4px;
}

.wall-item .name {
  font-size: 18px;
  color: #1a2634;
  font-weight: 500;
  white-space: nowrap;
  overflow: hidden;
  text-overflow: ellipsis;
  margin: 0;
}

.wall-item .price {
  font-size: 24px;
  color: #3498db;
  font-weight: 600;
  margin: 0;
}
This CSS creates:
- Clean, modern cards with subtle shadows and rounded corners
- Square product images that maintain their aspect ratio
- A flexible layout that works well on all screen sizes
- Truncated product names that don't wrap
- Bold, eye-catching prices
- Consistent spacing and alignment
Add this CSS to your site's stylesheet to match our demo's look, or customize it to match your brand's style.
For a complete list of available CSS classes and customization options, check out our CSS Classes Documentation.
Best Practices
Keep Wall Content Simple
- Use minimal HTML in your hidden content
- Optimize images for quick loading
- Use unique IDs for each product
Testing & Debugging
- Enable debug mode while testing
- Check console messages
- Verify your domain settings
Performance
- Add the script at the end of your body tag
- Lazy load product images
- Cache your API responses
Need more help? Our documentation has detailed guides for advanced features and troubleshooting.
Troubleshooting
Common issues and solutions:
Events Not Tracking
- Verify your API key is correct
- Check that your domain is in the allowed list
- Enable debug mode to see detailed logs
- Verify data attributes are correct
Content Not Appearing
- Check the wall content HTML structure
- Verify unique IDs are used for each product
- Confirm the content is properly hidden
More Examples Coming Soon
This is just the first in our series of VitalWall implementation guides. Stay tuned for more examples showing how to track different types of user interactions and display them in your wall.